
Ingredients
-
- 1 – onion, diced
- 1 – green pepper, diced
- 1 cup butter
- 3/4 cup diced celery (celery seed can be used, maybe a teaspoon or so)
- 2 – eggs, beaten
- 2 cups canned chicken broth
- 1 bag Pepperidge Farm herbed seasoned stuffing (is crumbs, not cubes or croutons and is sold in a blue & white bag), 16 oz.
- 1 bag soft bread cubes, 16-20 oz.
- 1 teaspoon garlic powder
- 1 teaspoon poultry seasoning
- 2 tablespoons dried parsley flakes (or can use fresh parsley)
- 1 teaspoon oregano
- 1 – Reynolds turkey sized baking bag
- 1 turkey
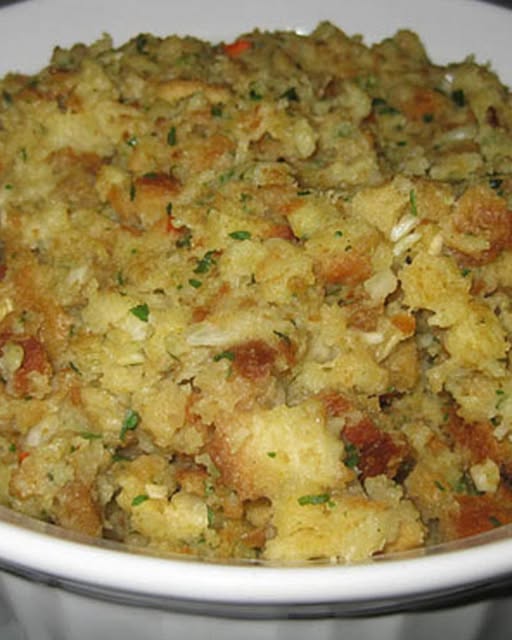
How To Make my mom’s perfect thanksgiving stuffing
-
-
Step 1In a large bowl, combine the bag of bread cubes with Pepperidge Farm herbed seasoned stuffing.
-

-
-
Step 2In a frying pan, melt butter over medium-high heat. Sautée onions, green pepper, and celery (or celery seed) until all is softened and translucent.
-

-
-
Step 3Pour melted butter and vegetables over all bread cubes and crumbs.
-
Step 4Mix in the two beaten eggs. Toss.
-


-
-
Step 5Add:
1 tsp Garlic Powder
1 tsp Poultry Seasoning
2 Tbsp Dried Parsley
1 Tsp OreganoToss again.
-
Step 6Now pour chicken broth over all of the mixture making sure that stuffing is ALMOST wet. You want it to be more than damp, but not downright wet so that stuffing doesn’t dry out while inside turkey baking. (You can judge if stuffing is becoming too wet, just reserve the rest of the broth if not needed. Many people like to use milk, but I find that it causes it to have a bland flavor. The chicken broth is the secret to excellent flavor, here.)
-


-
-
Step 7Toss once again, making sure all bread is well coated with all ingredients.
-
Step 8Stuff the turkey, packing tightly, but not too tightly (as in “don’t really jam it in there”) at both ends. (If you have any leftover, you can put it in a casserole dish, and refrigerate until 45 minutes before turkey is done, then put in the oven with turkey for extra stuffing.)
-


-
-
Step 9Use softened butter and, using fingers, rub butter all over turkey until coated. Then shake a little paprika over the top of the entire turkey.
-
Step 10Put about 2 tablespoons flour inside the baking bag before putting the turkey inside. Push turkey into the bag. Close bag tightly. Make three slits across the top of the bag for ventilation and put it into a roaster pan.
-


-
Step 11Put the lid on the roaster. Then bake following instructions for the size turkey you have. (**Note: the baking bag will probably cut baking time by at least 3/4 hr to 1 hour, but really holds in the juices and turkey stays very moist and juicy.)
No basting is required when you use the baking bag, but if you wish, you can baste one or two times during baking.
-
Step 12**Note** Be sure to remember to make the slits in the top of the baking bag, maybe an inch or two long, and be sure to put the little bit of flour into the bottom of the bag before you put the turkey inside. When finished, you will have an ample supply of broth inside the bag to make your gravy. Simply use a cup or ladle to scoop it all out.
(What broth I don’t need, I always put into a plastic container and freeze to use when I make my chicken soups. I add it into the pot of soup and it gives my soups added extra special flavor!)


ADVERTISEMENT
