
Icebox cake was originally created in the 1920s, and it has stood the test of time. It’s such a magical-looking dessert that’s almost too easy to pull off!
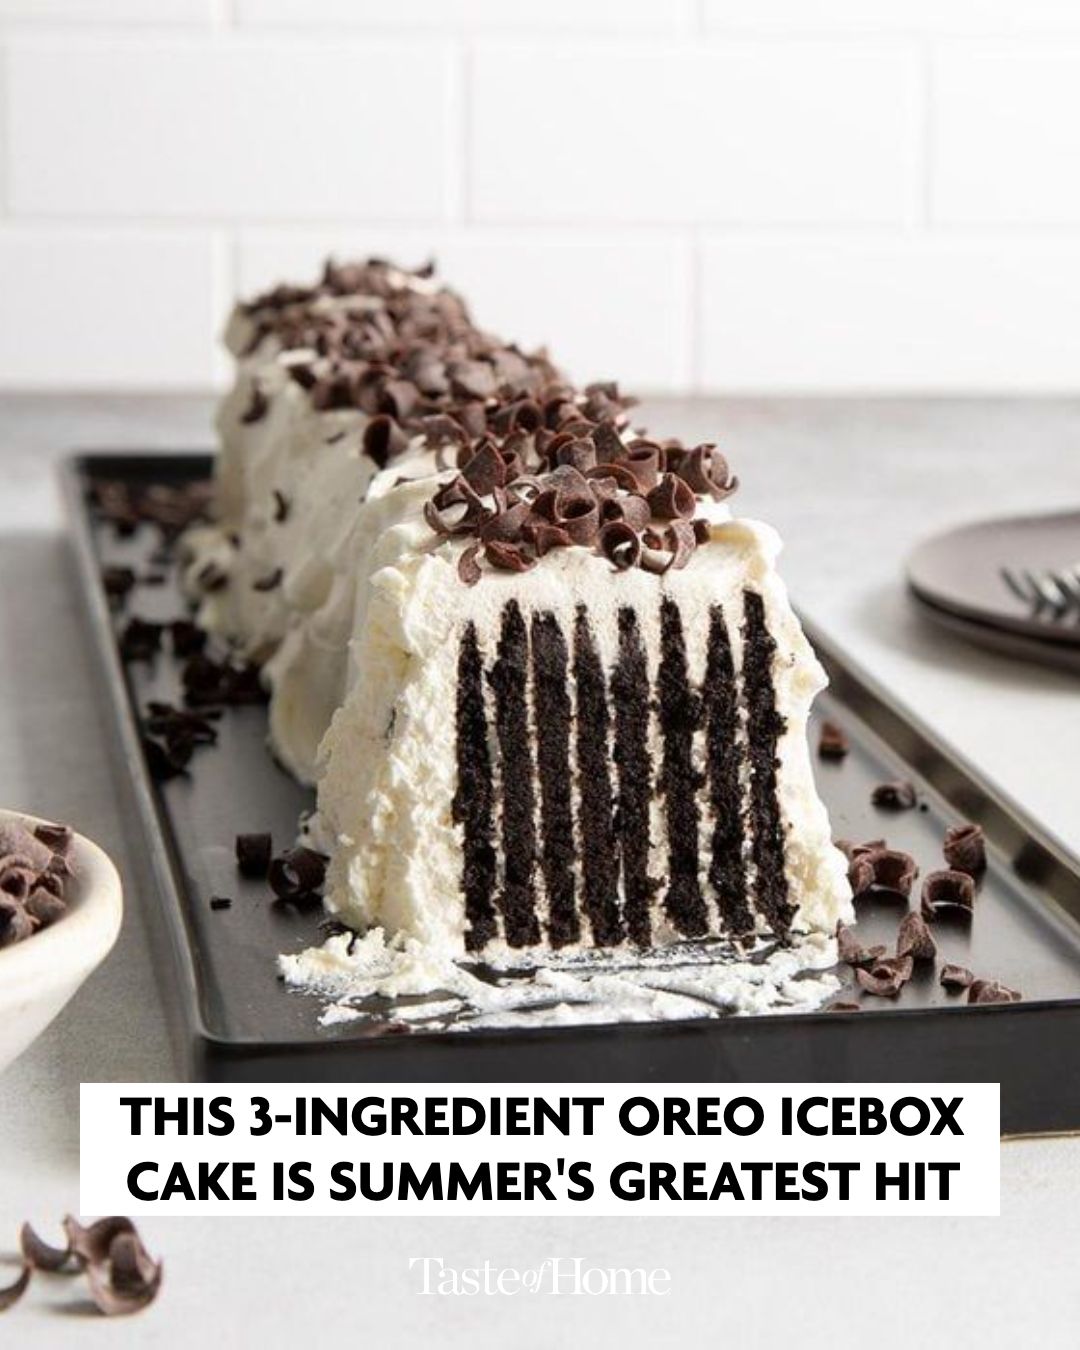
A classic icebox cake looks like it was made by gravity-defying magic. With inside cake layers standing vertically like zebra stripes, it’s a wondrous sight to behold in a slice. But no one needs to know how easy the cake was to assemble, or how this no-bake summer dessert doesn’t require a single heating element.
Indeed, all this icebox cake needs is whipped cream, premade chocolate wafers and a few hours in the fridge. Get ready to cut into it and accept all the “oohs” and “ahhs” over this fascinating, delicious dessert.
Ingredients for Icebox Cake
Heavy whipping cream: We use heavy whipping cream to make our own homemade whipped cream. The homemade stuff tastes incomparably fresher and smoother than premade whipped cream or whipped topping.
Confectioners’ sugar: The whipped cream is sweetened just a touch with 2 tablespoons of confectioners’ sugar.
Vanilla extract: One teaspoon of delicate, floral vanilla extract creates a subtle sweetness. Use vanilla paste if you want those pleasant vanilla bean flecks in the whipped cream.
Chocolate wafers: You’ll need 40 thin chocolate wafers for this classic icebox cake recipe. Try Nabisco’s Famous Chocolate Wafers, Dewey’s Brownie Crisp Moravian-Style Cookie Thins or mini chocolate pizzelles. Your grocery store might have other options available, too. If you can’t find any of these, try making your own with our chocolate mint wafers recipe—just drop the mint filling.
Chocolate curls: While chocolate curls are optional, they’re the perfect finishing touch to this icebox cake. Chocolate curls are fairly easy to make at home, but you could also buy some online. Chocolate sprinkles or chocolate syrup work in a pinch.
Directions
Step 1: Make the sweetened whipped cream
In a large bowl, use a hand mixer or stand mixer to beat the heavy whipping cream until soft peaks form. Add the sugar and vanilla, and beat until stiff peaks form.
Editor’s Tip: Take a look at our visual guide on the difference between soft peaks and stiff peaks if you’re unsure about the stage of your whipped cream. The guide is for egg whites, but whipped cream soft and stiff peaks take the same shape.
Step 2: Assemble the cake
Spread heaping teaspoons of the whipped cream on the cookies.
Make six stacks of cookies. Turn the stacks on their edge, and place on a serving platter, forming a 14-inch-long cake.
Step 3: Frost and decorate
Frost the top and sides of the cookies with the remaining whipped cream. If desired, garnish with chocolate curls. Refrigerate the icebox cake before serving, four to six hours.
Recipe Variations
Use your favorite cookie: Swap out the chocolate wafers with your favorite cookie for a fun twist. Graham crackers, Nilla wafers or Oreos are perfect here. You could do a drop cookie, too, like chocolate chip, peanut butter or oatmeal raisin. Just make sure it’s a crispy cookie.
Layer in extras: Add layers of chocolate, chopped nuts, berries, prepared boxed pudding, jams, curds or peanut butter between the wafer layers for more flavor.
NEXT PAGE
ADVERTISEMENT
