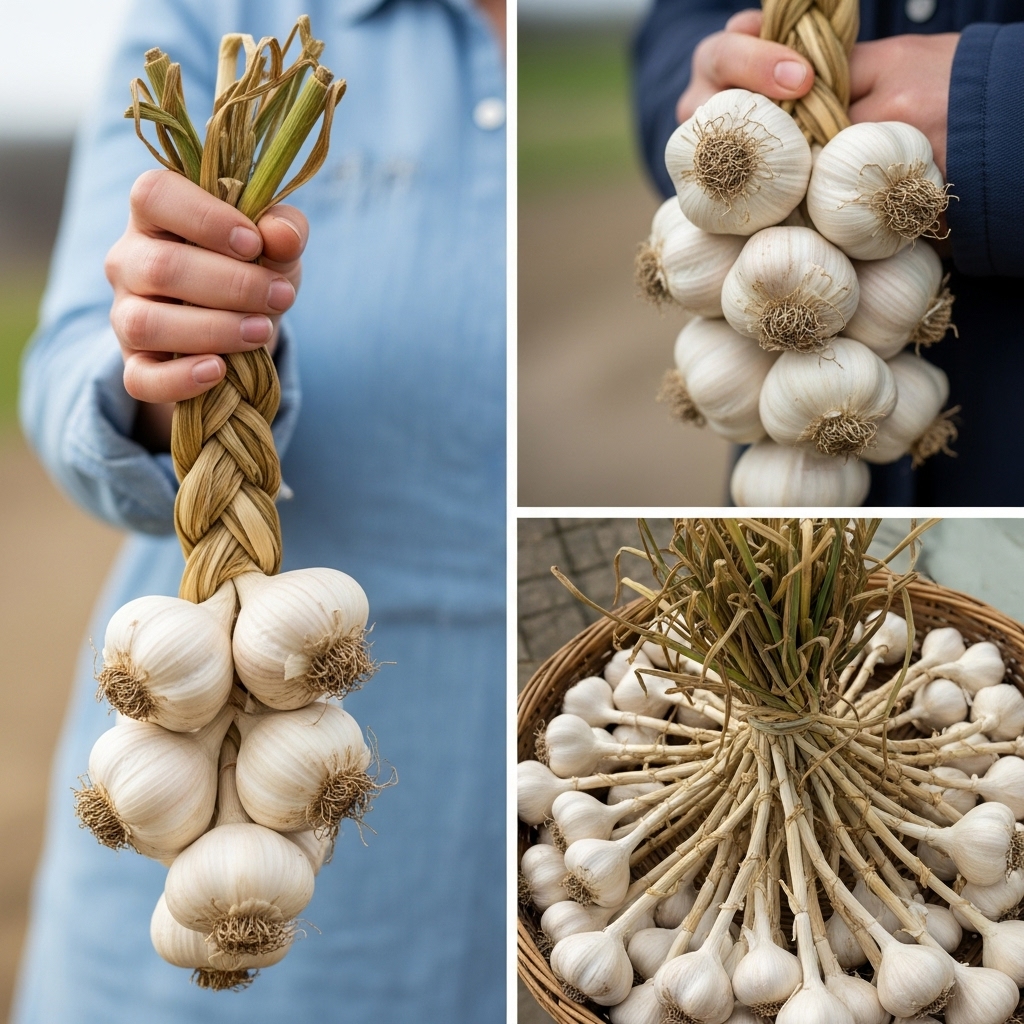
Garlic is a staple in kitchens around the world—not only for its intense flavor but also for its health benefits. What many people don’t realize is that it’s easy to grow garlic at home using a simple hydroponic method involving just water, a few toothpicks, and a jar.
This technique allows you to germinate garlic cloves without soil, using items you probably already have in your kitchen. It’s ideal for small spaces, urban gardening, or anyone who wants a fast, clean, and educational way to grow garlic from scratch.
Why Grow Garlic in Water?
Hydroponic garlic germination offers several benefits:
-
No mess: No soil needed—just water and a container
-
Quick results: Sprouts begin to appear within days
-
Space-saving: Perfect for windowsills, countertops, or small apartments
-
Educational: A great way to observe root and sprout growth
While garlic grown hydroponically this way may not produce full bulbs unless transferred to soil eventually, this method is excellent for growing garlic greens or getting a strong head start on a future planting.
What You’ll Need
-
1 or more healthy garlic cloves (preferably organic and firm)
-
3–4 toothpicks per clove
-
A small glass jar or cup
-
Water
-
Sunlight (a bright windowsill is ideal)
Optional:
-
A container with soil (if you plan to transplant the garlic later)
Step-by-Step: How to Germinate Garlic with Toothpicks and Water
1. Choose the Right Garlic
Start by selecting a large, healthy garlic clove. Organic garlic works best, as some commercial garlic is treated to prevent sprouting. Look for cloves with no signs of rot or mold, and ideally with a green nub beginning to form at the top—this indicates it’s ready to sprout.
2. Prepare the Clove
Peel away the outer layers of skin, but do not separate the clove or damage it. Keep the base (where roots will emerge) intact and visible. This is the flat end of the clove.
3. Insert Toothpicks
Insert three or four toothpicks around the midsection of the garlic clove. These will act as a support so the clove can rest on the rim of the jar without falling in.
Make sure the flat root side faces downward and the pointed tip (sprout end) faces upward.
4. Place in a Jar with Water
Fill a small jar or cup with just enough water to touch the bottom of the garlic clove. Do not submerge the entire clove—only the base should be in contact with water. Too much moisture can cause rot.
Suspend the garlic clove in the jar using the toothpicks, so that only the bottom tip touches the water.
5. Position in Sunlight
Place the jar in a well-lit location, such as a windowsill. Garlic loves sunlight, and a few hours of direct light daily will help it grow faster.
What to Expect in the Coming Days
-
Day 3–5: You may begin to see tiny white root hairs emerging from the base.
-
Day 7–10: A green shoot will begin to rise from the top.
-
Day 10–14: Roots will grow longer and the green sprout will thicken. At this point, you can continue growing garlic greens, or transplant to soil.
If the water becomes cloudy or smells, change it and clean the container. Refill with fresh water, ensuring the bottom of the clove remains in contact.
Growing Garlic Greens
If you leave the sprouted garlic clove in water, it will continue to grow green shoots—also known as garlic greens or scapes. These are edible and taste like a milder version of garlic, making them perfect for:
-
Stir-fries
-
Omelets
-
Soups
-
Salads
Simply snip off the greens with scissors when they reach about 6–8 inches tall. They will regrow several times before the clove uses up its energy.
Transplanting to Soil (Optional)
If you’d like to grow full garlic bulbs, transplant the sprouted clove into soil after about 2 weeks:
-
Choose a small pot with good drainage.
-
Fill it with rich, well-draining potting mix.
-
Plant the clove with the green sprout above the soil and the root side down.
-
Water lightly and place in a sunny spot.
Over the next few months, the plant will develop into a full garlic bulb. Be patient—bulb development can take up to 6–9 months, especially in containers.
Final Tips for Success
-
Refresh water every 2–3 days to prevent mold or rot.
-
Avoid submerging more than the bottom of the clove.
-
Use filtered water if your tap water contains chlorine, which can slow root growth.
-
Garlic prefers cooler temperatures while sprouting—avoid placing it near heat sources.
Conclusion
Growing garlic in water using toothpicks is an easy and rewarding project that’s suitable for gardeners of all skill levels. Whether you’re looking to grow garlic greens for cooking or kickstart a full plant for transplanting, this method offers a simple, soil-free solution.
Give it a try, and enjoy fresh garlic greens or a new homegrown garlic plant—all from the comfort of your windowsill.
ADVERTISEMENT

